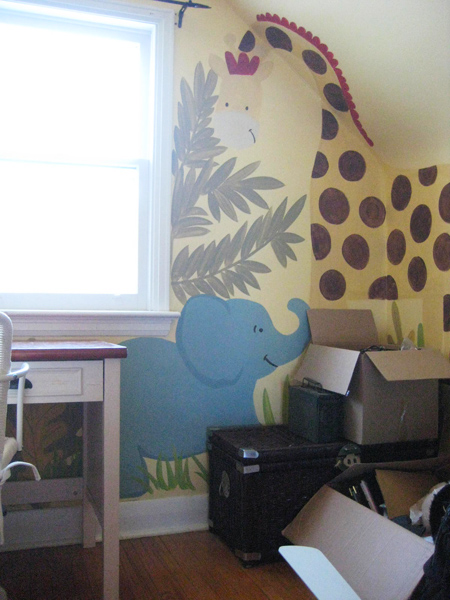
Well, when we started gearing up to sell, we realized it needed to be cleared out. A LOT. Which lead to a massive purge. Which lead to the room looking like this…
But then I realized (now that all the visual clutter was gone) that the baseboards were in rather awful shape. Like, really really bad shape. They looked like this…
So out came the painter’s tape (heaven forbid I should mar a cute little elephant while painting trim!) and the baseboards got freshened up a wee bit…
And then I decided that we’d better make the room look sorta nursery-ish for our listing photos. So I grabbed my beloved brown rocking chair (which, a long time ago, belonged to my grandparents, and which I hope to one day have reupholstered and use in my for real someday-nursery), some spare drapes, added a throw and a cushion, and poof! Instant quasi-nursery…
…well, sorta. It’s not entirely convincing, but it’s not bad. If I had a spare area rug kicking around, that’d make the room way cozier. And, of course, if I had a crib that’d be even better. And the drapes are a tad (ok, a lot) long and they cover up the sweet little elephant more than I’d like, but you can still see him peeking out a wee bit. For now, it’ll do.
So long as the house listing doesn’t actually show that there’s no crib in the room, we’re good. It’s all about perspective. :)
]]>
DONE.
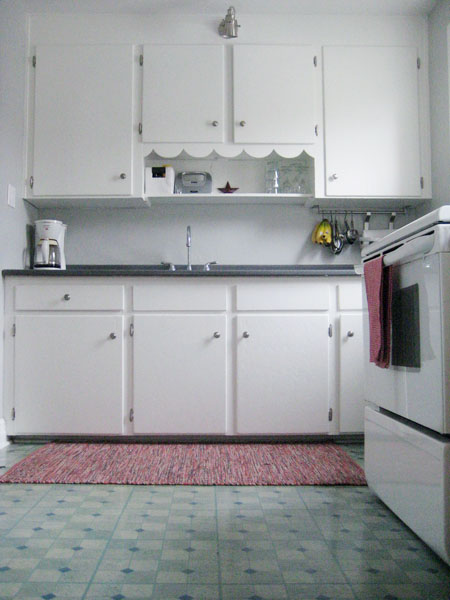
Here’s the progression (for anyone who’s visual, like me.)
I started with this…
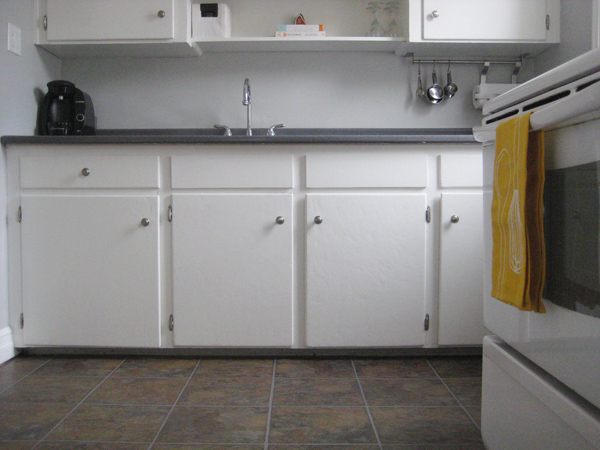
…which (thankfully!) turned into this…
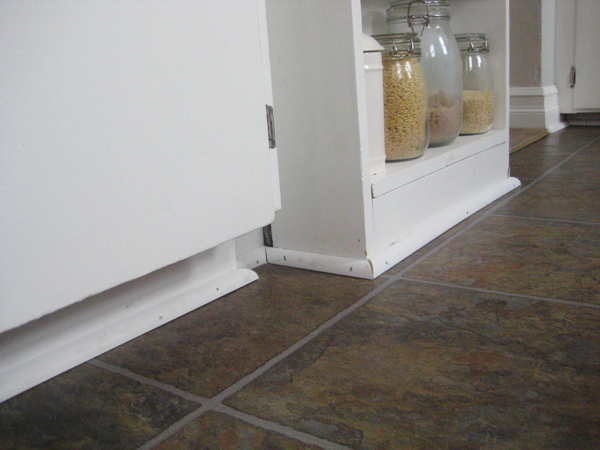
…Sweetie then added quarter round, which looked like this…
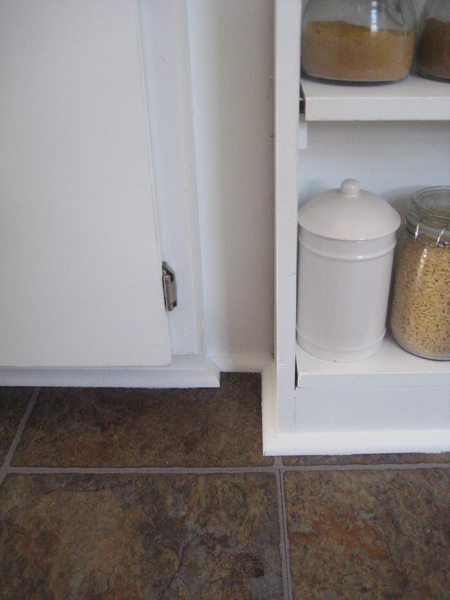
…then I caulked and painted everything, leaving a sparkly new (and finished) (and not blue) kitchen floor, that looks like this…
Am I happy much? YES. Have a already christened my new floor with a silly little happy dance? Of course. Does this occasion call for a big bottle of wine? Absolutely.
(Although pretty much any occasion is a good excuse for wine, if you ask me.)
One more thing done off our big ol’ to-do pre-listing list. And one major item completed from the list of things I’ve been meaning to do since we moved into this humble little abode 2.5 years ago.
Progress, how ever slow, is still progress. :)
]]>
And then… I stopped. Christmas season suddenly arrived and I got a wee bit distracted by sparkly things and bark baking and merry-making and pretty little red and green pompoms.
But, last weekend, in a foggy fresh post-Christmas stupor, I started painting.
And I am a happy girl. :)
The walls are done (and I’m in love with my new friend Revere Pewter!) but I still need to finish painting the trim (in case you couldn’t tell from the lovely green painters’ tape stripes the room is sporting.)
And we still need to switch out the ceiling fan (since the current fan is wonky and unbalanced) (well, and ugly too.)
I’ve got my eye on this pretty little fan from Rona. It’s small and cute, and our bedroom is small and cute, so I think it’ll be a good fit.
I have an ikea trip quasi-planned for next week (hooray!) (does anyone else out there get stupidly excited about ikea trips like I do?) at which point I’ll grab a new curtain rod and hopefully some pretty new curtains too (and likely a lot of other stuff that, of course, I absolutely need – we’re talking ikea here, you know.) And we will NOT mount the curtain rod to the window trim like the previous owners of this house did. Because that drives me a little bonkers. Just in case you were wondering about that.
And then (trim painted and fan-swapped and curtains mounted) the bedroom will be done. Done! Woo!
So there! A quick post-holiday bedroom painting progress update. Yep – I’m a real party animal. Give me a few days off over Christmas and New Years and do I relax? Of course not. I paint.
Progress makes me happy. :)
]]>
One of the contributing factors for why I despise painting trim? I can’t paint straight. At all. I am one of those poor sad people who needs tape. Everywhere. Like, lots and lots of tape. Or else things just get really messy. So while the process of painting the trim (primer coat went on yesterday) (yuppers – I prime everything. Way less frustrating than going back afterwards to try and seal in all those mystery stains when they peek through your lovely new paint job) (and plus it’s a high adhesion primer, which works really well with my aversion to sanding) didn’t actually take that long, taping took forever. And ever. And ever.

Stringers desperate for paint - do you blame them? If you listen really closely, you can almost hear them whispering, "paaaaiint me..."

Miles and miles of green painters' tape. The subtle green stripes are kinda pretty, non?
People who can paint trim and these sorts of things sans tape amaze me. Seriously. Craig Lowe, you are my hero.
(Explanatory aside: Craig Lowe is the painter guy Mike Holmes brings in to paint post-demolition on Holmes on Homes. Sweetie calls him my boyfriend. He does indeed make me swoon just a little. Not because he’s particularly handsome [he is kinda cute though], but because that man can paint a mean room. Without tape. Sigh.) (Random reference, I know.)
While painting the stairwell, I’m figuring I should also paint the doors to the bedrooms (since they’re the original 1940s ugly stained/several-thousand-coats-of-varathane doors, and they don’t really match anything.)
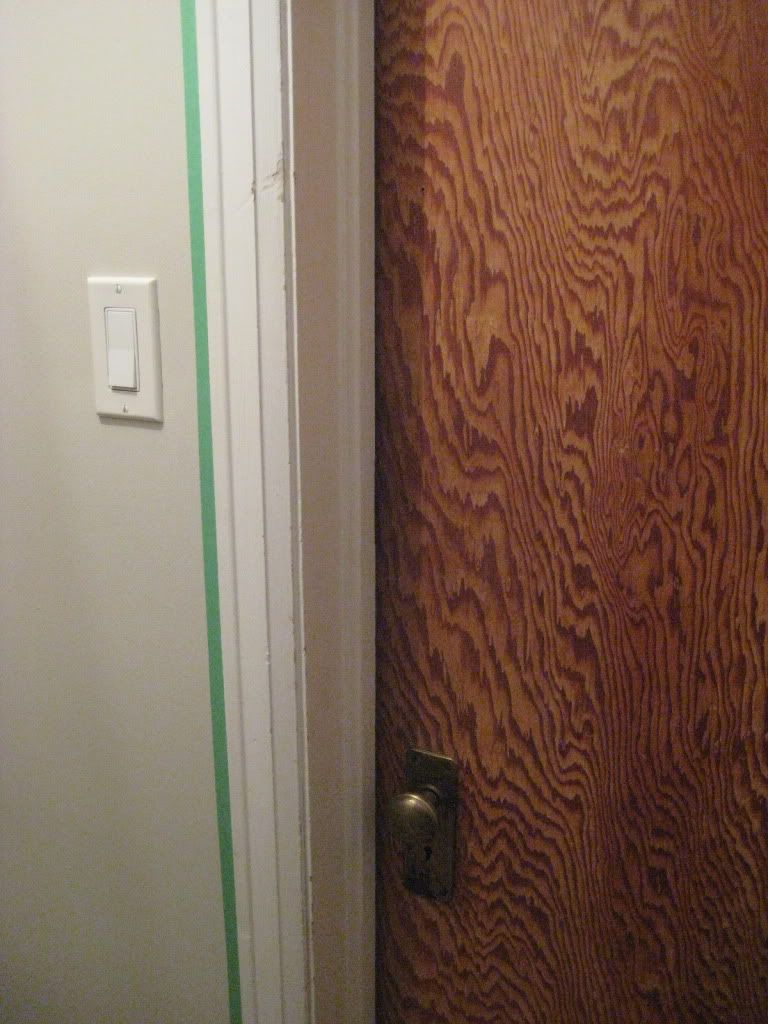
For the record, I love my doorknobs. They need some cleaning up, but old doorknobs make me happy.

I’m thinking I might eventually take them all off and give them a good coat of Oil Rubbed Bronze spraypaint (a la Sherry from YHL.) (Hi Sherry!) For now I’ll just paint around them though…
a) because I’m lazy
b) because I prefer to spraypaint outdoors and it’s, like, minus a gazillion degrees out right now
c) because I just want this stupid stairwell project overwith (and getting fancy with the doorknobs wasn’t part of the original plan for right now.)
SO there it is. Stairwell-Painting-Project Progress Report number 3. And hopefully the last one – there’s nothing like spending your weekend (or three) in a tiny little stairwell. But it may just be the nicest stairwell ever (ev-ver) when I’m done. Or so I’m telling myself.
]]>
I caulked all the baseboards to the wall. This is always my least favourite step when I’m painting a room. Caulking is gross. It’s sticky. It’s unruly. It gets all over. (So, really, this is all one big admission that I suck at caulking.) BUT, it makes such a huge difference to how things look (so, while I gripe and groan, it’s a step I never skip) (unless, by some miracle, things have already been caulked, in which case I do a little happy dance.) (Sadly, there were no happy dances spontaneously erupting yesterday.)
(Aside: I PROMISE to eventually get a better handle on this whole picture-taking thing. Darkest. Photo. Ever. And it kinda makes me a little dizzy too…)
Here’s the same stretch of baseboard after a little love from the caulking gun (and a coat of primer too)…

Pretty!
Way better eh? (Oooh. And a way better camera angle, with better lighting too. Gotta say, I’m pretty darn proud of that there shot of my baseboards.) :) Caulking the baseboards to the walls just makes everything look so much more FINISHED. I can’t believe in the 70-ish years this house has been standing, no one has ever thought to do this.
Once all the gaps were all tidied up, I primed everything. I probably didn’t need to – I’m doubting that the paint on the walls was oil-based or anything like that. But I’ve learned through experience that priming over everything, as much as I hate the additional step, ensures that there will be no surprises (nothing is more annoying than having a mystery stain that you didn’t notice pre-painting suddenly seep through your new pretty paint job), and it just seals anything, um, weird the previous owners did in (there are all sorts of strange marks on my walls. Not so sure what most of them are. Don’t really want to know.) PLUS, with all the patching I did, priming kinda became a mandatory step. :(
So that’s how I’ve spent my weekend so far! Here’s the stairwell to date, all primed-up and anxiously waiting for a coat of lovely greigy Edgecomb Gray…

If a stairwell could look excited about paint, I'm pretty sure this is how it'd look.
Progress makes me happy. :)
]]>
